
Polished concrete is powerful, durable and occasional maintenance while getting that earthy texture of stone having a polish comparable to granite. This is how to control your emotions.
It’s just like traditional polished terrazzo that is very flat and put like a special mix to help make the finish more effective. Polished concrete floors may also look almost bumpy and also have little if any aggregate showing. Flatness and polishing aren’t always exactly the same factor that is a good indicate obvious up before saying yes for your project.
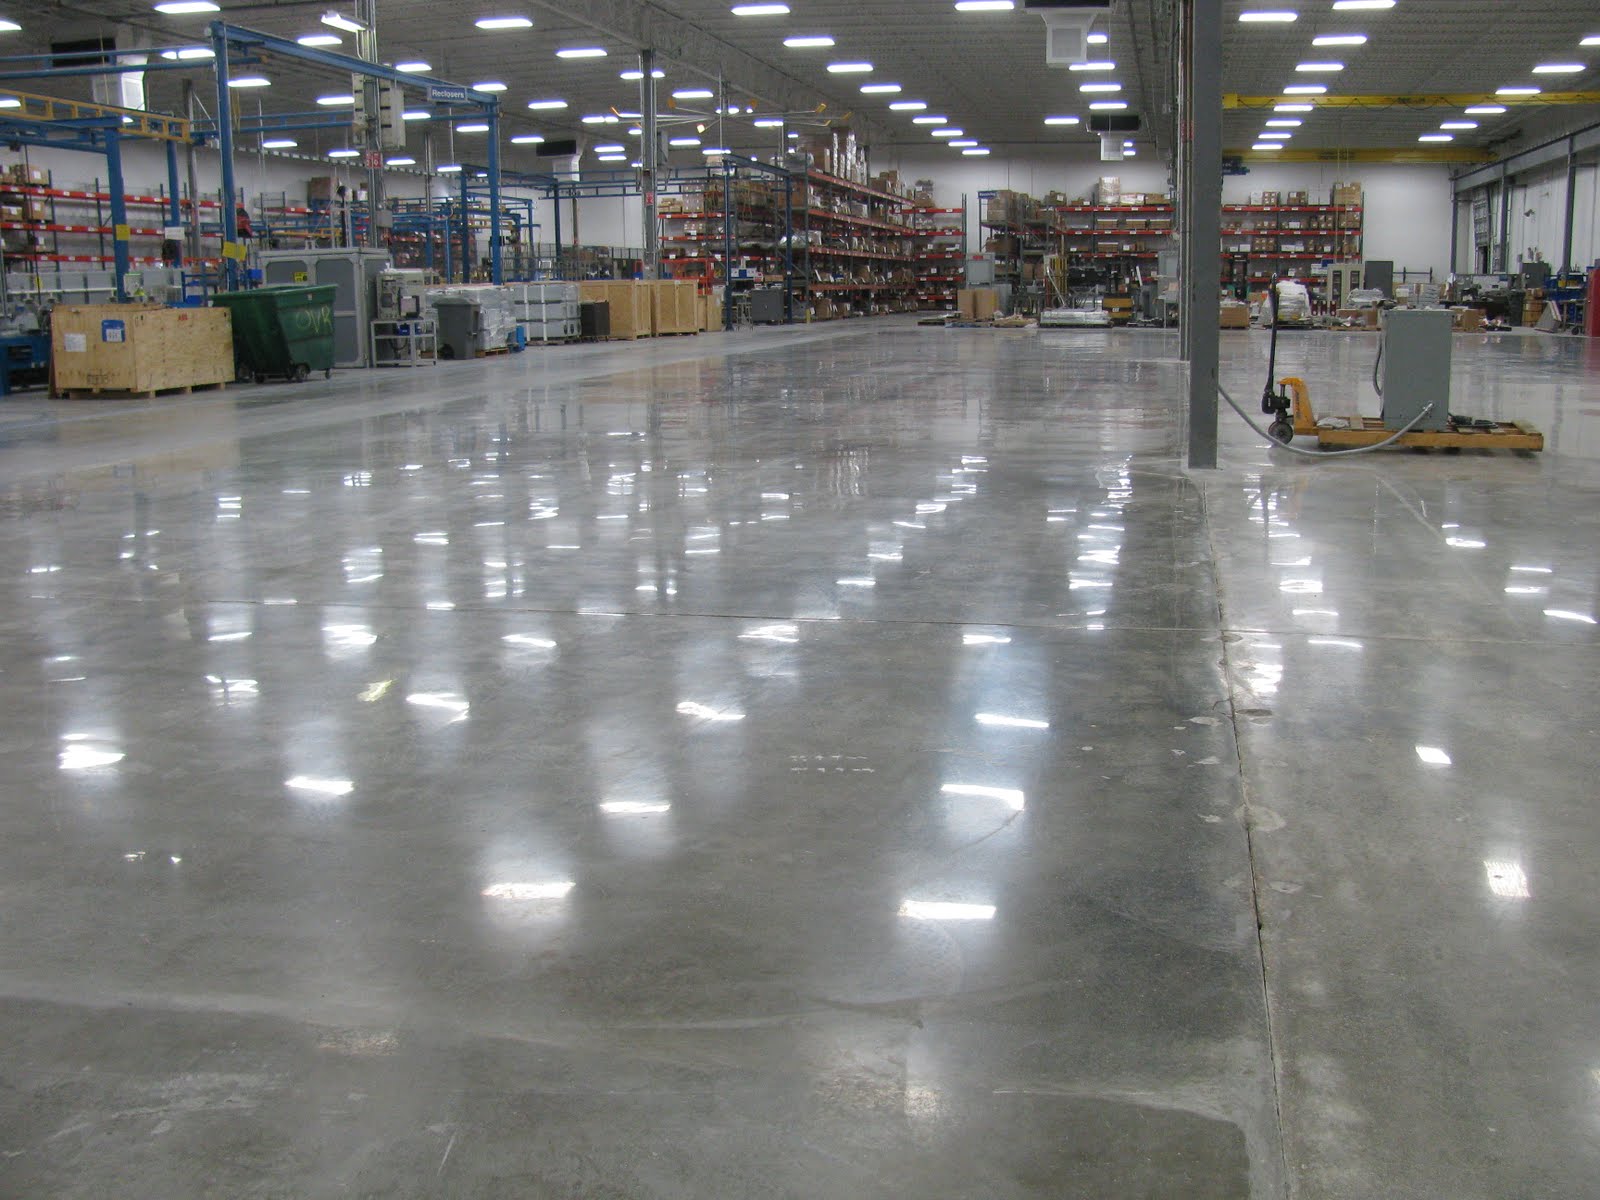
It is additional time and gemstone put on to chop floors having a concrete grinder until they’re flat. They are able to be either ground flat to completely expose the aggregate like terrazzo, or even the aggregate could be partly uncovered, or even the concrete grinding can expose a maximum of the fine sands in the surface. It frequently takes skill and experience to manage the entire process of polished concrete floors and the caliber of the concreter’s original lounging work is another adding element in the caliber of the conclusion. In which the aggregate is really a feature special materials can be included to the wet concrete mix for example coloured pebbles, metals and glass to boost the ultimate appearance.
Many people are not aware there are ten to 15 steps for polished concrete floors that take a lengthy time for you to complete and could be quite costly.
Typically it requires many grinding passes to complete a very polished floor although there are more ways as described later. The overall rule would be to double the amount gemstone grit size underneath the concrete grinder for every pass so a specialist might begin with very coarse, 16 or 32 grit size diamonds, then use 60 grit diamonds adopted by 120, then begin anew having a 50 grit gemstone resin pad rather of the metal segment. While using resin pads the steps might be 100, then 200, 400, 800, and 1500 and lastly 3000 grit. That might be ten separate grinding passes which doesn’t count the 2 other essential steps.
Two more valuable steps:
- Hardening the top
Polished concrete floors will often have the top hardened having a chemical prior to the second, third or 4th grinding pass. Caffeine soaks in to the floor to some couple of millimeters (almost half one inch) and results in a compound response to occur which makes the ground harder and simpler to shine to some high finish.
- Filling holes
Following the first concrete grinder pass removes the very best layer of concrete paste it’ll expose countless small air holes. If these aren’t filled prior to the hardening process then your final polished concrete floor can have these unsightly imperfections. The holes are often full of a polymer tile adhesive kind of product combined with either the grinding dust or cement powder that is hands crawled over the floor utilizing a trowel. This process is quicker and also the dust matches the color from the floor to cover the holes much better than when utilizing cement powder.